

Securing a modern, high-traffic dedicated server requires more than just a basic firewall. Whether you are hosting massive game servers, a high-frequency trading platform, or a busy enterprise application on your iDatam infrastructure, you need an Intrusion Detection and Prevention System (IDS/IPS) capable of analyzing every packet in real-time.
However, many administrators make the critical mistake of installing legacy tools like Snort on a 10Gbps or 100Gbps network connection. Because standard IDS tools rely on the Linux kernel's networking stack, they become an immediate bottleneck, introducing massive latency and dropping packets. To achieve true 100Gbps threat detection without choking your server, you need a modern, multi-threaded engine (Suricata) paired with a kernel-bypass framework (DPDK).
In this comprehensive masterclass, we will walk you through setting up a hardware-accelerated IPS on Linux using Suricata and the Data Plane Development Kit (DPDK).
What You'll Learn
The Single-Threaded Bottleneck (Why Legacy Tools Fail)
How DPDK Enables Hardware-Accelerated IPS on Linux
Step 1: Bare Metal Hardware Prerequisites & IOMMU
Step 2: Installing and Binding DPDK to Network Interfaces
Step 3: Compiling Suricata with DPDK Support
Step 4: Configuring Suricata for 10Gbps+ IDS/IPS
Step 5: Running Suricata and Verifying Kernel Bypass
The Single-Threaded Bottleneck (Why Legacy Tools Fail)
When dealing with low-traffic web servers, traditional IDS/IPS engines like Snort work fine. However, Snort (prior to version 3) is largely single-threaded. If you deploy it on a server with a 10Gbps uplink, that single thread will pin one CPU core to 100%, causing the system to drop millions of packets and rendering your security posture completely blind to attacks hiding in the overflow.
Suricata solves the threading issue by being heavily multi-threaded out of the box, allowing it to scale across all the CPU cores of your bare-metal server. But multi-threading alone isn't enough for 10Gbps or 100Gbps speeds.
How DPDK Enables Hardware-Accelerated IPS on Linux
Even with Suricata's multi-threading, the standard Linux kernel networking stack is too slow for enterprise traffic. Every time a packet arrives, the Network Interface Card (NIC) triggers a hardware interrupt. The kernel then copies the packet from kernel space to user space so the application can read it. At 10 million packets per second, this context-switching will completely overwhelm your CPU.
Data Plane Development Kit (DPDK) solves this by entirely bypassing the Linux kernel. With DPDK, Suricata takes direct control of the physical NIC. Packets are written directly via Direct Memory Access (DMA) into user-space memory. This zero-copy, polling-mode architecture eliminates interrupts and context switching, enabling true hardware-accelerated IPS on Linux.
Step 1: Bare Metal Hardware Prerequisites & IOMMU
To deploy a Suricata DPDK dedicated server, you need specific hardware and BIOS configurations.
Prerequisites:
A bare-metal dedicated server (Ubuntu 22.04 LTS or 24.04 LTS).
A DPDK-compatible NIC (Intel X520, X710, E810, or Mellanox ConnectX series).
At least two network interfaces: one for standard management (SSH) and one dedicated exclusively to DPDK/Suricata traffic inspection. Warning: Once a NIC is bound to DPDK, it disappears from the standard Linux
ifconfig/ip arouting table.
1.1 Enable IOMMU in GRUB
DPDK requires IOMMU (Input/Output Memory Management Unit) to securely map device memory directly to user space.
Edit your GRUB configuration:
sudo nano /etc/default/grub
Find the GRUB_CMDLINE_LINUX_DEFAULT line and append the IOMMU flags and Hugepages configuration. For Intel CPUs, use intel_iommu=on. For AMD EPYC processors, use amd_iommu=on. We will also allocate 1024 hugepages (2MB each, totaling 2GB of memory) for DPDK to use for packet buffers.
GRUB_CMDLINE_LINUX_DEFAULT="quiet splash intel_iommu=on iommu=pt default_hugepagesz=2M hugepagesz=2M hugepages=1024"
Update GRUB and reboot your dedicated server:
sudo update-grub
sudo reboot
After rebooting, verify that IOMMU is enabled:
dmesg | grep -e DMAR -e IOMMU
Step 2: Installing and Binding DPDK to Network Interfaces
With the kernel prepared, we must install the DPDK libraries and bind our secondary network interface to the vfio-pci driver.
2.1 Install DPDK and VFIO
Install the DPDK core utilities and load the required Virtual Function I/O (VFIO) kernel module:
sudo apt update
sudo apt install dpdk dpdk-dev dpdk-igb-uio-dkms python3-pyelftools -y
sudo modprobe vfio-pci
echo "vfio-pci" | sudo tee -a /etc/modules
2.2 Identify and Bind the Network Interface
Use the DPDK development binding tool to list your available network interfaces:
sudo dpdk-devbind.py --status
Look for the PCIe address of the interface you want to dedicate to Suricata (e.g., 0000:04:00.1). Make absolutely sure this is not the interface you are currently using for SSH!
Bind the interface to the vfio-pci driver:
sudo dpdk-devbind.py --bind=vfio-pci 0000:04:00.1
Run the status command again. You should now see your NIC listed under Network devices using DPDK-compatible driver.
Step 3: Compiling Suricata with DPDK Support
The default Suricata package found in the Ubuntu apt repository does not usually come with DPDK support enabled. We must compile it from source to unlock hardware acceleration.
3.1 Install Build Dependencies
Install the necessary compilers, libraries, and Rust toolchain (required for modern Suricata versions):
sudo apt install libpcre2-dev libyaml-dev libjansson-dev libpcap-dev libcap-ng-dev libmagic-dev liblz4-dev zlib1g-dev pkg-config make gcc build-essential libnuma-dev meson ninja-build cmake rustc cargo -y
3.2 Download and Compile Suricata
Download the latest stable release of Suricata from the official Open Information Security Foundation (OISF) website:
cd /usr/src
sudo wget https://www.openinfosecfoundation.org/download/suricata-7.0.2.tar.gz
sudo tar -xvzf suricata-7.0.2.tar.gz
cd suricata-7.0.2
Configure the build environment, explicitly enabling DPDK:
sudo ./configure --enable-dpdk --prefix=/usr --sysconfdir=/etc --localstatedir=/var
If the configuration completes successfully, you will see DPDK support: yes in the summary output. Proceed to compile and install:
sudo make
sudo make install
sudo make install-conf
Step 4: Configuring Suricata for 10Gbps+ IDS/IPS
Suricata's primary configuration file is located at /etc/suricata/suricata.yaml. We need to instruct Suricata to read from our DPDK interface rather than the standard Linux packet capture (AF_PACKET/PF_RING) engine.
4.1 Configure DPDK in YAML
Open the configuration file:
sudo nano /etc/suricata/suricata.yaml
Scroll down to the dpdk: section (or add it if it doesn't exist) and configure it to match your bound PCIe interface:
dpdk:
  eal-params:
    proc-type: primary
  interfaces:
    - interface: 0000:04:00.1 # The PCIe address we bound earlier
      threads: 4              # Number of CPU cores dedicated to this NIC
      promisc: true           # Capture all traffic on the wire
      multicast: true
      checksum-checks: true
      checksum-checks-offload: false
      mtu: 1500               # Change to 9000 if using Jumbo Frames
4.2 CPU Affinity and Thread Pinning
To achieve wire-speed 10Gbps or 100Gbps, you must stop the Linux kernel from moving Suricata's threads across different CPU cores. Pinning threads ensures optimal L3 CPU cache hits.
In suricata.yaml, locate the threading: section and adjust the cpu-affinity:
threading:
  set-cpu-affinity: yes
  cpu-affinity:
    - management-cpu-set:
        cpu: [ 0 ]  # Keep management on core 0
    - receive-cpu-set:
        cpu: [ 1, 2 ]
    - worker-cpu-set:
        cpu: [ 3, 4, 5, 6, 7, 8 ] # Dedicate these cores strictly to packet inspection
        mode: "exclusive"
4.3 Update the Rule Set
Suricata needs threat intelligence signatures to know what to look for. Update the default Emerging Threats (ET) ruleset using the built-in update tool:
sudo suricata-update
Step 5: Running Suricata and Verifying Kernel Bypass
With our DPDK interface bound, Hugepages allocated, and configuration finalized, it's time to launch our 10Gbps IDS bare metal setup.
5.1 Start the Engine
Start Suricata manually via the command line to observe the DPDK initialization logs:
sudo suricata --dpdk -c /etc/suricata/suricata.yaml
During startup, watch the console output closely. You should see logs indicating that the DPDK Environment Abstraction Layer (EAL) is initializing, claiming the massive hugepages memory chunks, and successfully binding to the 0000:04:00.1 interface in polling mode.
5.2 Verify Packet Capture Statistics
Once running, open a secondary terminal and check the Suricata stats log to ensure packets are being ingested directly via DPDK without being dropped:
tail -f /var/log/suricata/stats.log
Look for the capture.kernel_packets and capture.kernel_drops metrics. Because we are bypassing the kernel, you should see zero kernel drops. The dpdk specific stats will show millions of packets processed with minimal CPU wait times.
You have now successfully transformed your iDatam dedicated server into a highly optimized, enterprise-grade threat detection appliance. By eliminating the kernel bottleneck with DPDK, Suricata can now inspect massive volumes of traffic in real-time, securing your bare-metal infrastructure against brute-force attacks, DDoS attempts, and network exploitation at true wire speed.
iDatam Recommended Tutorials

Control Panel, Security
Plesk Server Security Tutorial: A Step-by-Step Guide to Secure Your Web Infrastructure
Secure your Plesk server with our in-depth tutorial! Learn step-by-step techniques, from updates and advanced configurations to code-level protections and emergency strategies, to fortify your web infrastructure against potential threats.


Plesk
Detecting Spam Sending Domains On Plesk Server Using Postfix
Learn how to detect spam-sending domains on a Plesk server using Postfix. Step-by-step guide to identify and stop malicious scripts and secure your email environment.
Security, Network
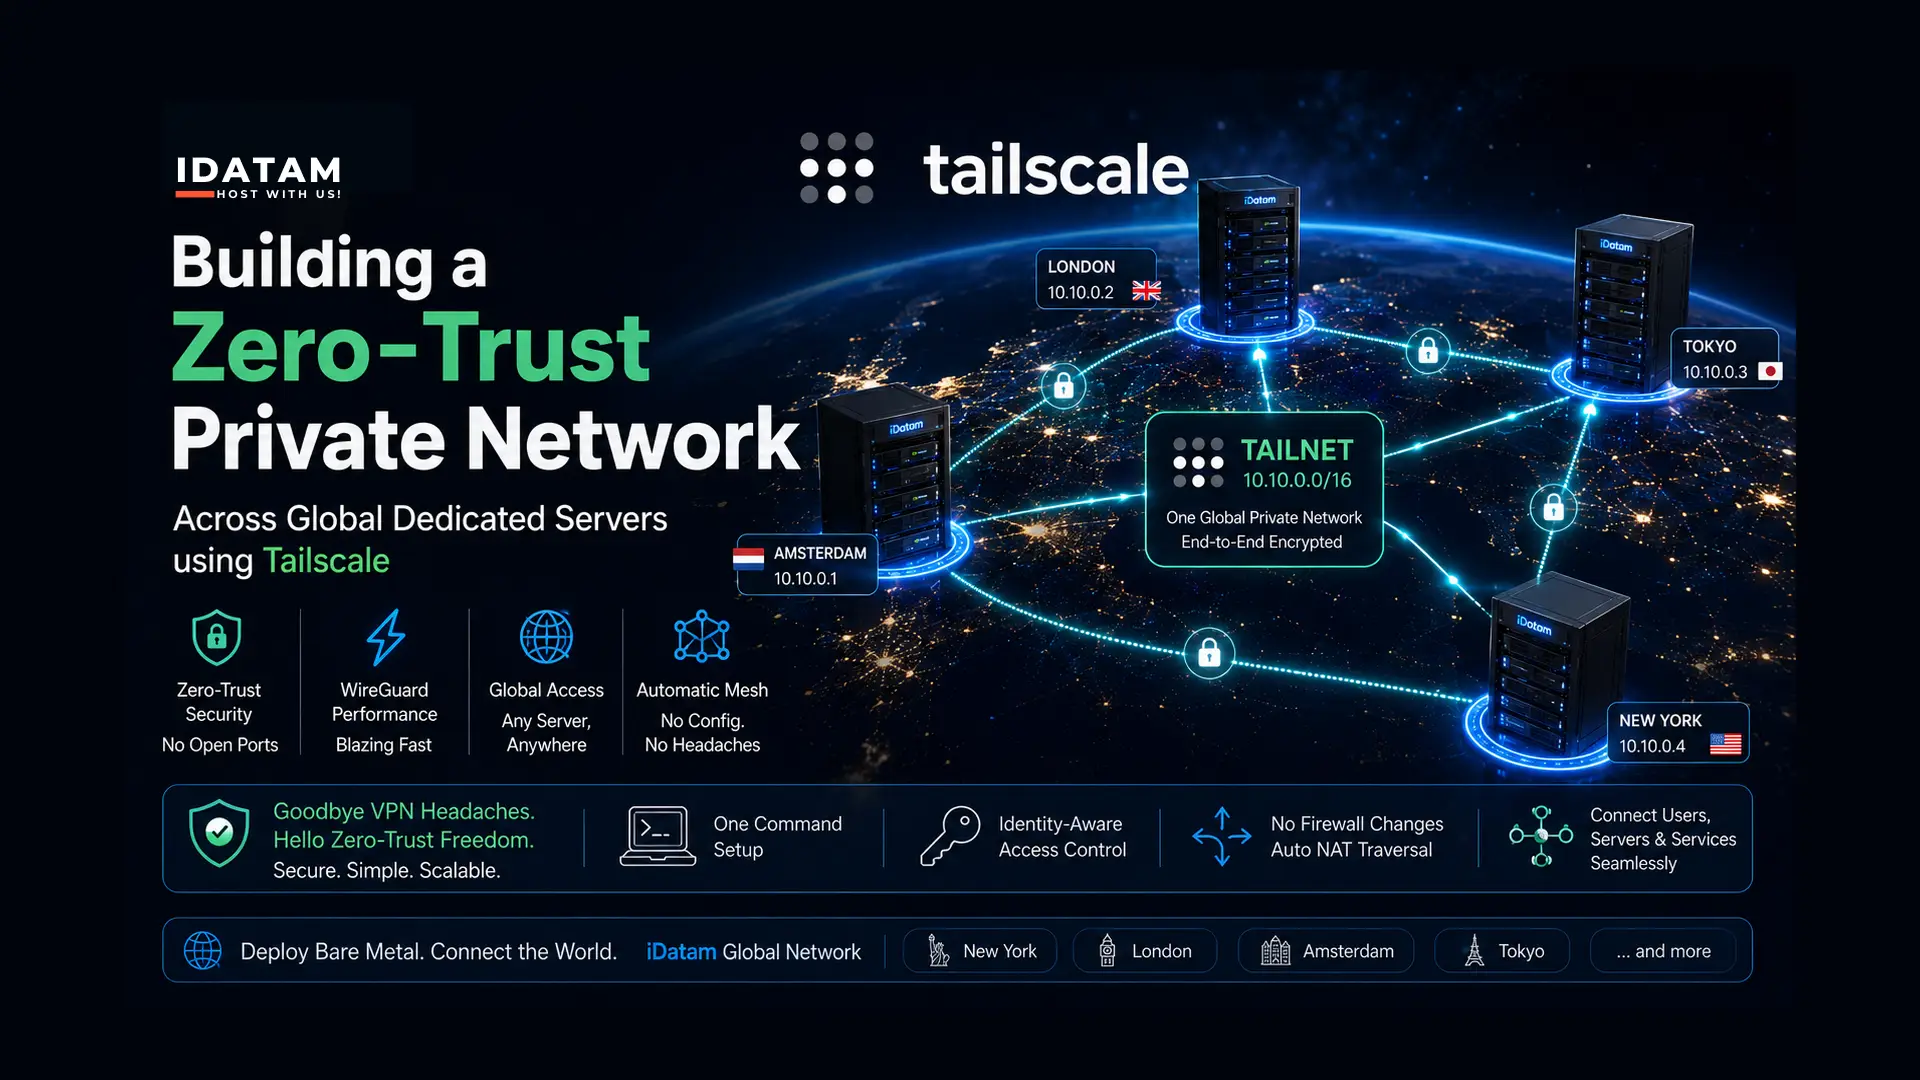
Building a Zero-Trust Private Network Across Global Dedicated Servers using Tailscale
Learn how to seamlessly link bare-metal servers across different continents into a single, secure Zero-Trust subnet using Tailscale and WireGuard.
Discover iDatam Dedicated Server Locations
iDatam servers are available around the world, providing diverse options for hosting websites. Each region offers unique advantages, making it easier to choose a location that best suits your specific hosting needs.
