
To fix the "VFS: Unable to mount root fs" error on a remote server, boot the server into a Network Rescue System or mount a Live ISO via IPMI. Once booted into the live environment, assemble your RAID arrays or LVM volumes, mount your broken system's root and boot partitions, and use mount --bind to attach /dev, /proc, and /sys. Next, chroot into your broken system. From there, regenerate the missing or corrupted boot files using update-initramfs -u and update-grub (Ubuntu/Debian) or dracut --regenerate-all --force (RHEL/AlmaLinux). Verify your /etc/fstab UUIDs, exit the chroot, unmount, and reboot.
What You'll Learn
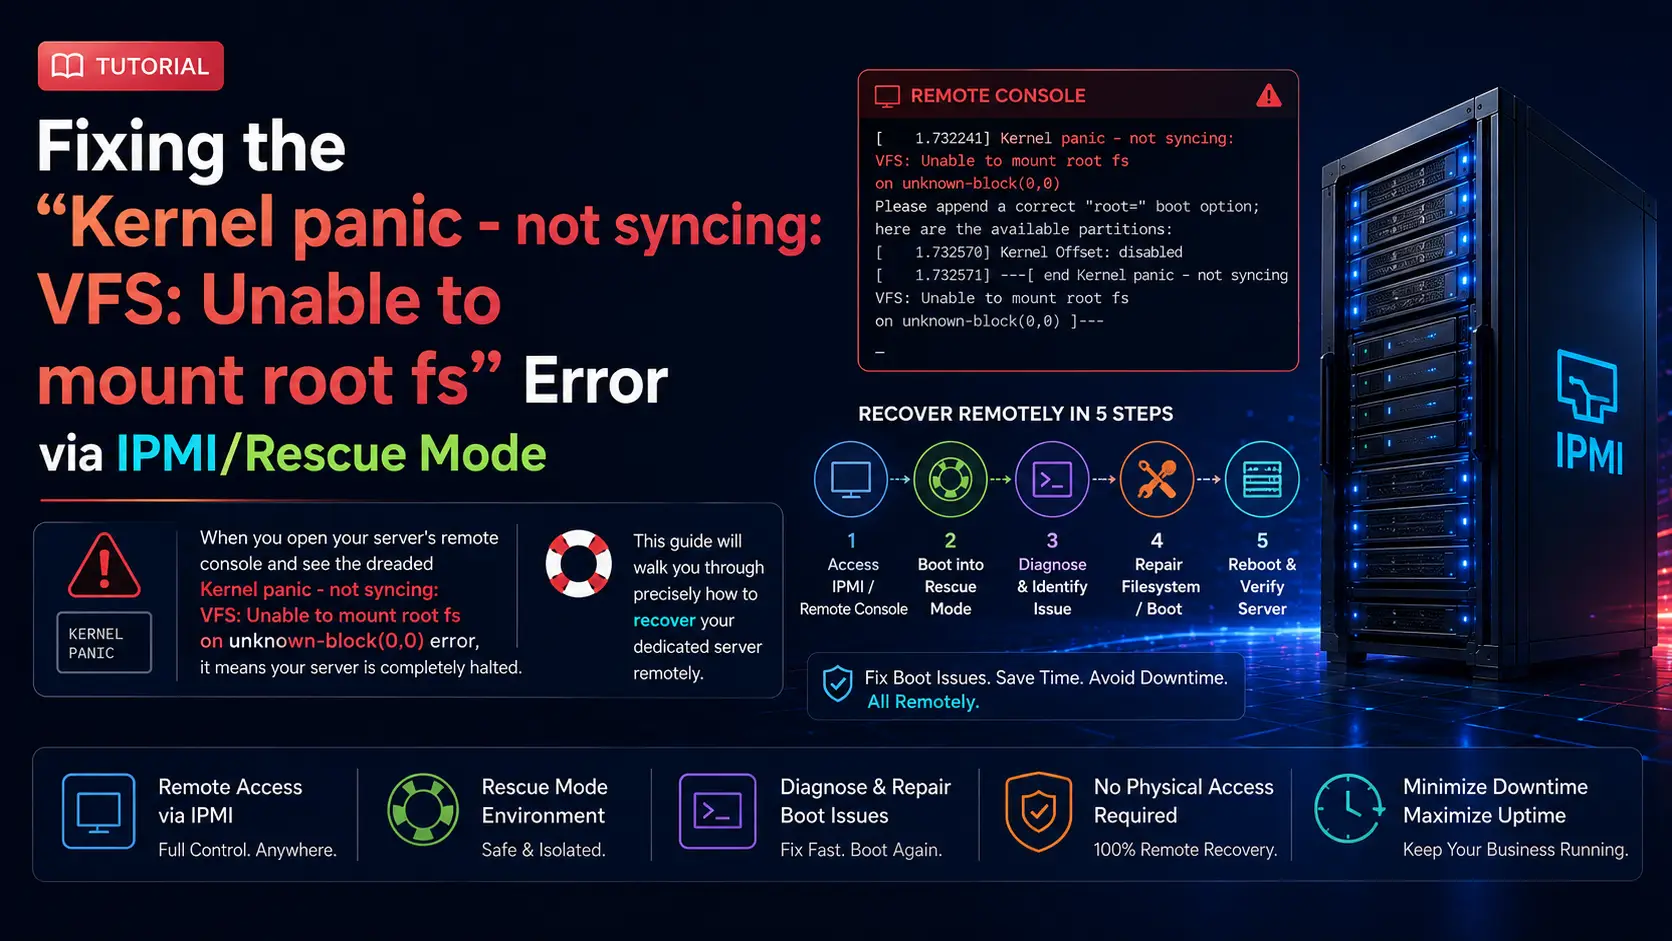
Understanding the "VFS: Unable to mount root fs" Error
Gaining Remote Access via IPMI or Rescue Mode
Preparing the Environment: Initializing RAID and LVM
Mounting the Filesystems and Entering Chroot
The Fix: Rebuilding Initramfs and GRUB
Verifying UUIDs and fstab Configurations
Safe Exit and Reboot Procedures
Understanding the "VFS: Unable to mount root fs" Error
Before typing any commands, it is crucial to understand why your dedicated server crashed. The Linux boot sequence generally follows these steps:
-
The BIOS/UEFI initializes the hardware.
-
The bootloader (like GRUB) is loaded into memory.
-
The bootloader loads the Linux Kernel and the initramfs (Initial RAM Filesystem) into memory.
-
The Kernel executes and unpacks the initramfs, which contains the essential drivers needed to interact with your physical storage disks (NVMe, SATA, hardware RAID controllers).
-
The Kernel uses those drivers to locate and mount the actual Root Filesystem (
/). -
The boot process is handed over to systemd (or init), and your server finishes booting.
The Virtual File System (VFS) Kernel Panic occurs exactly between steps 4 and 5. The Kernel has successfully loaded, but it cannot find, read, or mount the root disk.
On dedicated servers, this usually happens for one of three reasons:
-
Corrupted or Missing initramfs: A recent kernel update failed to generate the initramfs properly, leaving the kernel without the drivers to read your NVMe or RAID storage.
-
Incorrect UUIDs: You resized a partition, migrated data, or formatted a drive, causing the UUID of the root disk in
/etc/fstabor/boot/grub/grub.cfgto change. -
Missing Storage Drivers: You moved the OS to new hardware, and the existing kernel lacks the specific storage controller drivers.
Gaining Remote Access via IPMI or Rescue Mode
Unlike a laptop or local PC, you cannot simply plug a USB drive into a dedicated server located in a distant data center. You must leverage the remote management tools provided by your hosting company.
Option A: Using a Network Rescue System (Recommended)
Most premium dedicated hosting providers offer a "Rescue Mode" or "Netboot" option in their client portal.
Log into your hosting provider's dashboard.
Locate the Boot Options or Server Management tab.
Change the boot device from "Hard Disk" to "Rescue System" (often a lightweight Debian or Alpine Linux environment).
Restart the server.
You will be provided with temporary SSH credentials to access the Rescue System.
Option B: Using IPMI / KVM-over-IP
If a network rescue mode is unavailable, you must use your server's out-of-band management interface (IPMI, iLO, iDRAC, or HTML5 KVM).
Log into the IPMI web interface.
Launch the Virtual Console.
Use the "Virtual Media" feature to mount a standard Ubuntu Live ISO or SystemRescueCD ISO.
Reboot the server and press the necessary key (usually F11 or F12) to access the boot menu and boot from the Virtual CD-ROM.
Preparing the Environment: Initializing RAID and LVM
Once you are logged into your rescue environment via SSH or your IPMI terminal, you are in a temporary, in-memory operating system. You cannot fix the server until you find and assemble its physical disks.
Many generic tutorials tell you to simply run mount /dev/sda1 /mnt. This will fail on 90% of dedicated servers. Dedicated servers almost always utilize Software RAID (mdadm) to protect against drive failure, or Logical Volume Management (LVM) for flexible partitioning.
First, list all block devices to see what you are working with:
lsblk
fdisk -l
If your server uses Software RAID: You must tell the rescue system to assemble the RAID arrays before you can mount them.
mdadm --examine --scan >> /etc/mdadm/mdadm.conf
mdadm --assemble --scan
Check lsblk again. You should now see devices like /dev/md0 (usually boot) and /dev/md1 (usually root).
If your server uses LVM: The logical volumes remain dormant in a rescue environment. You must scan for volume groups and activate them.
vgscan
vgchange -ay
Check lsblk again. You will now see your mapped volumes, such as /dev/mapper/vg0-root.
Mounting the Filesystems and Entering Chroot
Now that your disks are visible and active, we need to recreate your server's directory structure inside the /mnt directory of the rescue system. We will then use chroot (Change Root) to trick the rescue system into thinking it is running your actual operating system.
Assuming your root partition is /dev/md1 and your boot partition is /dev/md0:
-
1. Mount the Root Partition:
bashmount /dev/md1 /mnt -
2. Mount the Boot and EFI Partitions: The kernel and initramfs live in
/boot. If you have a separate boot partition, it is critical to mount it. (If you use UEFI, also mount/boot/efi).bashmount /dev/md0 /mnt/boot # Only if UEFI is present: mount /dev/nvme0n1p1 /mnt/boot/efi -
3. Bind the Virtual Filesystems: The kernel relies on dynamic virtual filesystems (
/dev,/proc,/sys,/run) to interact with hardware. We must bind these from the active rescue environment to your broken environment.bashmount --bind /dev /mnt/dev mount --bind /dev/pts /mnt/dev/pts mount --bind /proc /mnt/proc mount --bind /sys /mnt/sys mount --bind /run /mnt/run -
4. Enter the Chroot: Finally, shift into your broken operating system:
bashchroot /mnt /bin/bash
Your command prompt will change. You are now "inside" your broken server. Any commands you run now will affect your dedicated server's actual configuration, not the temporary rescue OS.
The Fix: Rebuilding Initramfs and GRUB
Now that we are inside the system, we can address the root cause of the kernel panic. We need to force the operating system to rebuild the initramfs image and update the bootloader so it knows exactly where everything is located.
First, identify which kernel versions are installed on your server:
ls -l /boot
Look for files named vmlinuz-* and initrd.img-*.
For Debian / Ubuntu Servers: Update the initramfs for all installed kernels, and then update the GRUB bootloader configuration.
update-initramfs -u -k all
update-grub
For RHEL / AlmaLinux / Rocky Linux Servers: Red Hat-based systems use dracut to build the initramfs.
dracut --regenerate-all --force
grub2-mkconfig -o /boot/grub2/grub.cfg
# If using UEFI on RHEL, the path might be: grub2-mkconfig -o /boot/efi/EFI/redhat/grub.cfg
Watch the terminal output closely. If the command reports an error about missing space in /boot or a failure to read a block device, you must resolve that specific error before continuing. Assuming the commands complete successfully, the kernel panic is effectively resolved.
Verifying UUIDs and fstab Configurations
Before we reboot, we must ensure that the system isn't trying to mount a ghost drive. If the UUID (Universally Unique Identifier) of your hard drive changed, the bootloader will hand off the boot process, but the kernel will look for a UUID that doesn't exist, triggering the VFS panic again.
Open a second SSH terminal to your rescue system (do not enter chroot in this second terminal). Run:
blkid
This will print out the UUIDs of all current, active partitions.
Go back to your primary terminal (inside the chroot). View your /etc/fstab file:
cat /etc/fstab
Carefully compare the output. The UUID listed for / (root) in /etc/fstab must match the UUID shown by blkid for your actual root device (e.g., /dev/md1 or your LVM path). If they do not match, use a text editor like nano or vi to edit /etc/fstab and paste the correct UUID.
nano /etc/fstab
Save and exit.
Safe Exit and Reboot Procedures
With the initramfs rebuilt and the filesystem configurations verified, it is time to bring the dedicated server back to life. You must exit the chroot environment cleanly and unmount the filesystems to prevent any last-minute data corruption.
-
Exit the Chroot:
bashexitYou will return to the rescue environment prompt.
-
Unmount the Virtual Filesystems: Carefully unmount everything in reverse order.
bashumount /mnt/run umount /mnt/sys umount /mnt/proc umount /mnt/dev/pts umount /mnt/dev -
Unmount Boot and Root:
bash# Unmount EFI if you mounted it earlier # umount /mnt/boot/efi umount /mnt/boot umount /mnt -
Stop RAID / LVM (Optional but recommended for clean shutdowns):
bashvgchange -an mdadm --stop --scan -
Reboot: Finally, issue the reboot command.
bashreboot
Log back into your hosting provider's dashboard or your IPMI interface immediately. Ensure you change the boot sequence back to "Hard Disk" instead of "Rescue System."
Open your Virtual Console and watch the boot process. You should see the GRUB menu appear, the kernel load, and then—instead of a kernel panic—the glorious sight of systemd initializing your services, leading directly to your standard login prompt. Your dedicated server is back online.
iDatam Recommended Tutorials

Control Panel
How to Fix Invalid cPanel License Error?
Find out how to fix the Invalid cPanel License error with this step-by-step guide. Resolve licensing issues quickly and get your hosting control panel back on track.

Control Panel
How to Install and Use JetBackup in cPanel
Learn how to install and use JetBackup in cPanel with this step-by-step tutorial. Discover how to back up and restore accounts, files, databases, and more efficiently.

Network
Remote Desktop Can’t Connect To The Remote Computer [Solved]
Learn how to fix the Remote Desktop can't connect to the remote computer error. Discover common causes such as network problems, Windows updates, and firewall restrictions, along with step-by-step solutions to resolve the issue and restore your remote desktop connection.
Discover iDatam Dedicated Server Locations
iDatam servers are available around the world, providing diverse options for hosting websites. Each region offers unique advantages, making it easier to choose a location that best suits your specific hosting needs.