
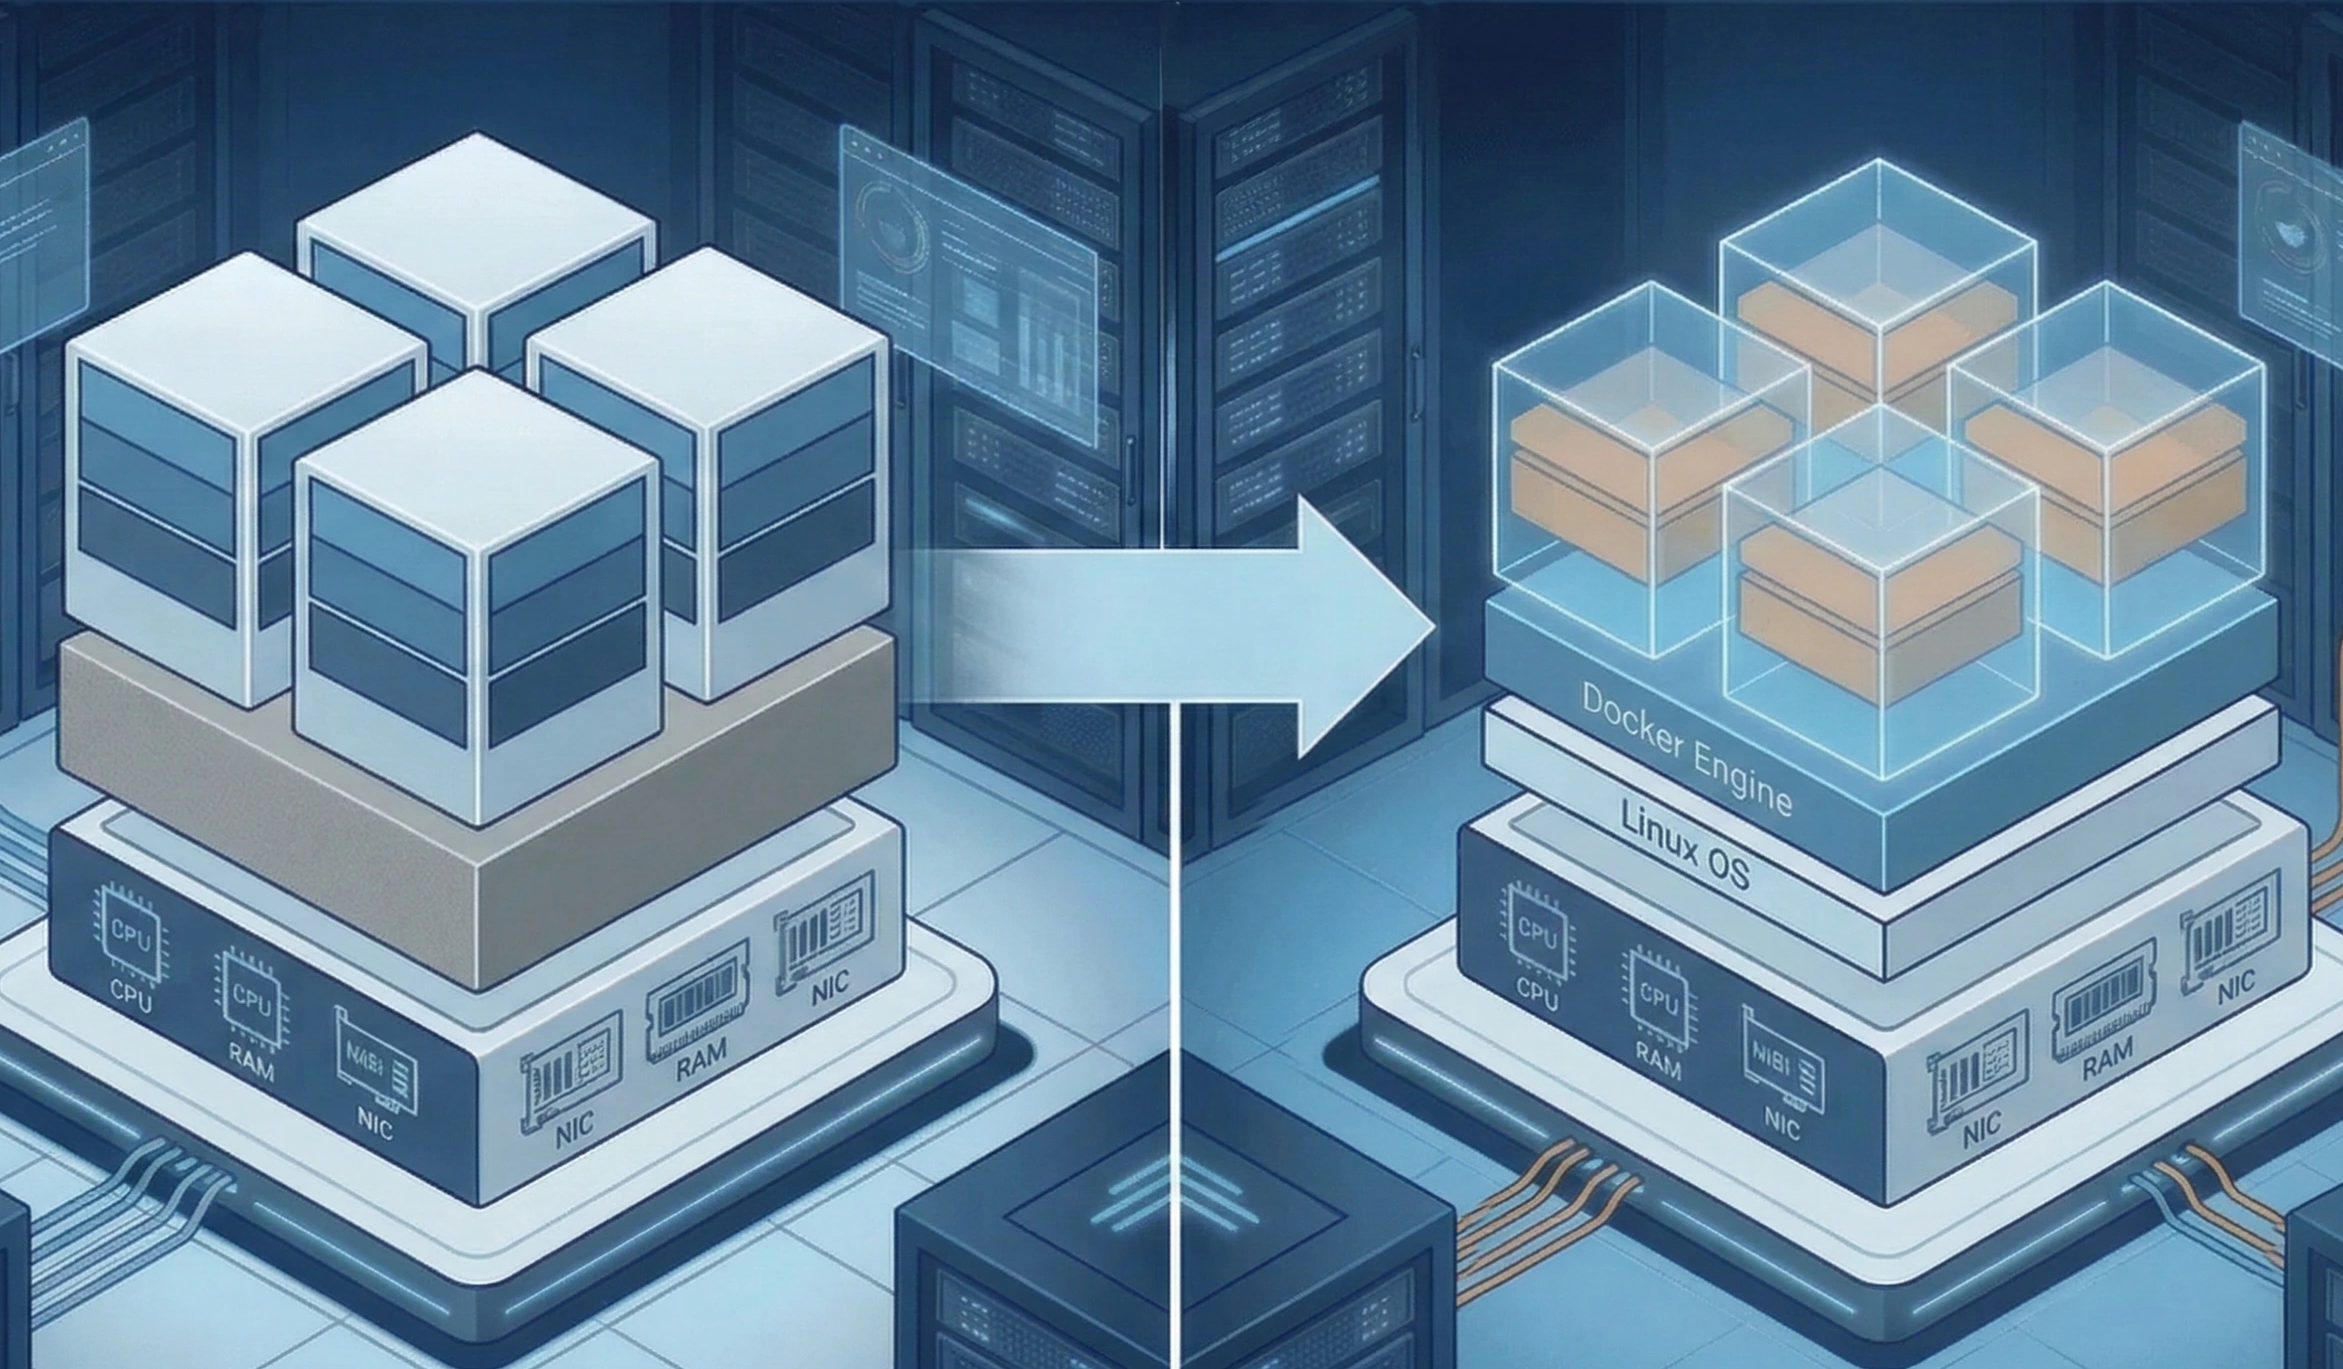
For years, the standard deployment model was to provision a massive physical server, slice it up into Virtual Machines (VMs) using a hypervisor like ESXi or KVM, and then install Docker inside those VMs. While this provides great isolation, it introduces a "hypervisor tax." The virtualization layer inherently consumes 5–10% of your CPU, memory, and I/O resources before your applications even start running.
When you are dealing with high-frequency trading, massive databases, or heavy machine learning workloads in 2026, giving up 10% of your performance is unacceptable.
The solution is bare metal containerization—installing your container engine directly on the physical host's operating system. This allows your containers to communicate directly with the kernel, CPU, and NVMe storage without any translation layers, squeezing out 100% of the hardware's theoretical performance.
Here is a technical walkthrough on how to prepare, install, and optimize a bare-metal Docker environment.
What You'll Learn
Why Bare Metal Beats VMs for Server Containerization
Step 1: Preparing Your Bare Metal Host
Step 2: Installing Docker Directly on the OS
Step 3: Optimizing Container Performance (Networking & Storage)
Why Bare Metal Beats VMs for Server Containerization
Before jumping into the command line, it is important to understand exactly what you are gaining by ditching the hypervisor.
-
Zero CPU Context-Switching Overhead: In a VM, the hypervisor has to schedule virtual CPUs onto physical CPUs. On bare metal, Docker containers are just isolated Linux processes. They execute directly on the physical silicon.
-
Direct-to-Disk I/O: Virtualized storage protocols add latency. Bare metal containers can be mapped directly to high-speed NVMe block storage or ZFS pools, making database read/writes exponentially faster.
-
NUMA Node Pinning: You can pin specific containers to specific CPU cores and their localized RAM banks (NUMA nodes), preventing latency caused by cross-processor memory fetching on dual-socket motherboards.
Step 1: Preparing Your Bare Metal Host
For this tutorial, we will assume a clean installation of Ubuntu 24.04 LTS or Debian 12.
First, ensure your bare-metal environment is fully updated and has the necessary dependencies to fetch packages securely over HTTPS.
# Update the package index and upgrade existing packages
sudo apt update && sudo apt full-upgrade -y

# Install prerequisite packages
sudo apt install -y apt-transport-https ca-certificates curl software-properties-common gnupg lsb-release
It is highly recommended to configure your firewall (UFW) now, before Docker alters your iptables rules. Allow SSH access so you don't lock yourself out:
sudo ufw allow 22/tcp
sudo ufw enable
Step 2: Installing Docker Directly on the OS
Do not use the default apt repository for Docker, as it is often outdated. Instead, add Docker's official GPG key and repository to get the latest performance and security patches.
-
Add the official Docker GPG key:
bashcurl -fsSL https://download.docker.com/linux/ubuntu/gpg | sudo gpg --dearmor -o /usr/share/keyrings/docker-archive-keyring.gpg -
Set up the stable repository:
bashecho "deb [arch=$(dpkg --print-architecture) signed-by=/usr/share/keyrings/docker-archive-keyring.gpg] https://download.docker.com/linux/ubuntu $(lsb_release -cs) stable" | sudo tee /etc/apt/sources.list.d/docker.list > /dev/null -
Install the Docker Engine and containerd:
bashsudo apt update sudo apt install -y docker-ce docker-ce-cli containerd.io docker-compose-plugin -
Post-Installation (Avoid using sudo for every command):
By default, the Docker daemon binds to a Unix socket owned by root. To run Docker commands as your standard user, add your user to the
dockergroup:bashsudo usermod -aG docker $USERNote: You will need to log out and log back in (or run
newgrp docker) for this group change to take effect.
Step 3: Optimizing Container Performance (Networking & Storage)
Just installing Docker on bare metal isn't enough; you need to configure it to bypass its own internal bottlenecks.
Optimizing Network Latency (--network host)
By default, Docker places containers on a virtual bridge network. This requires Docker to perform Network Address Translation (NAT) to route traffic from the host port to the container port, adding latency.
For high-performance applications (like a load balancer or a game server), attach the container directly to the host's network stack. This bypasses the bridge entirely:
# Running an Nginx container with host networking
docker run -d --name high_perf_nginx --network host nginx:latest
Note: When using host networking, you don't need to publish ports with -p. The container binds directly to the physical server's ports.
Optimizing Storage I/O (Use Local Volumes)
If your container requires heavy disk writing (like a PostgreSQL or MySQL database), do not use standard bind mounts (mounting a host directory to a container directory), as they suffer from file system overhead.
Instead, create managed Docker volumes that are explicitly backed by a high-performance filesystem on your physical drives, such as XFS or ZFS.
# Create a managed volume
docker volume create pg_data

# Run the database using the optimized volume
docker run -d \
  --name bare_metal_postgres \
  -e POSTGRES_PASSWORD=securepassword \
  -v pg_data:/var/lib/postgresql/data \
  postgres:16
By leveraging bare metal server containerization, you are giving your applications an immediate performance boost while maintaining the portability and clean infrastructure management that Docker provides.
Discover iDatam Dedicated Server Locations
iDatam servers are available around the world, providing diverse options for hosting websites. Each region offers unique advantages, making it easier to choose a location that best suits your specific hosting needs.