
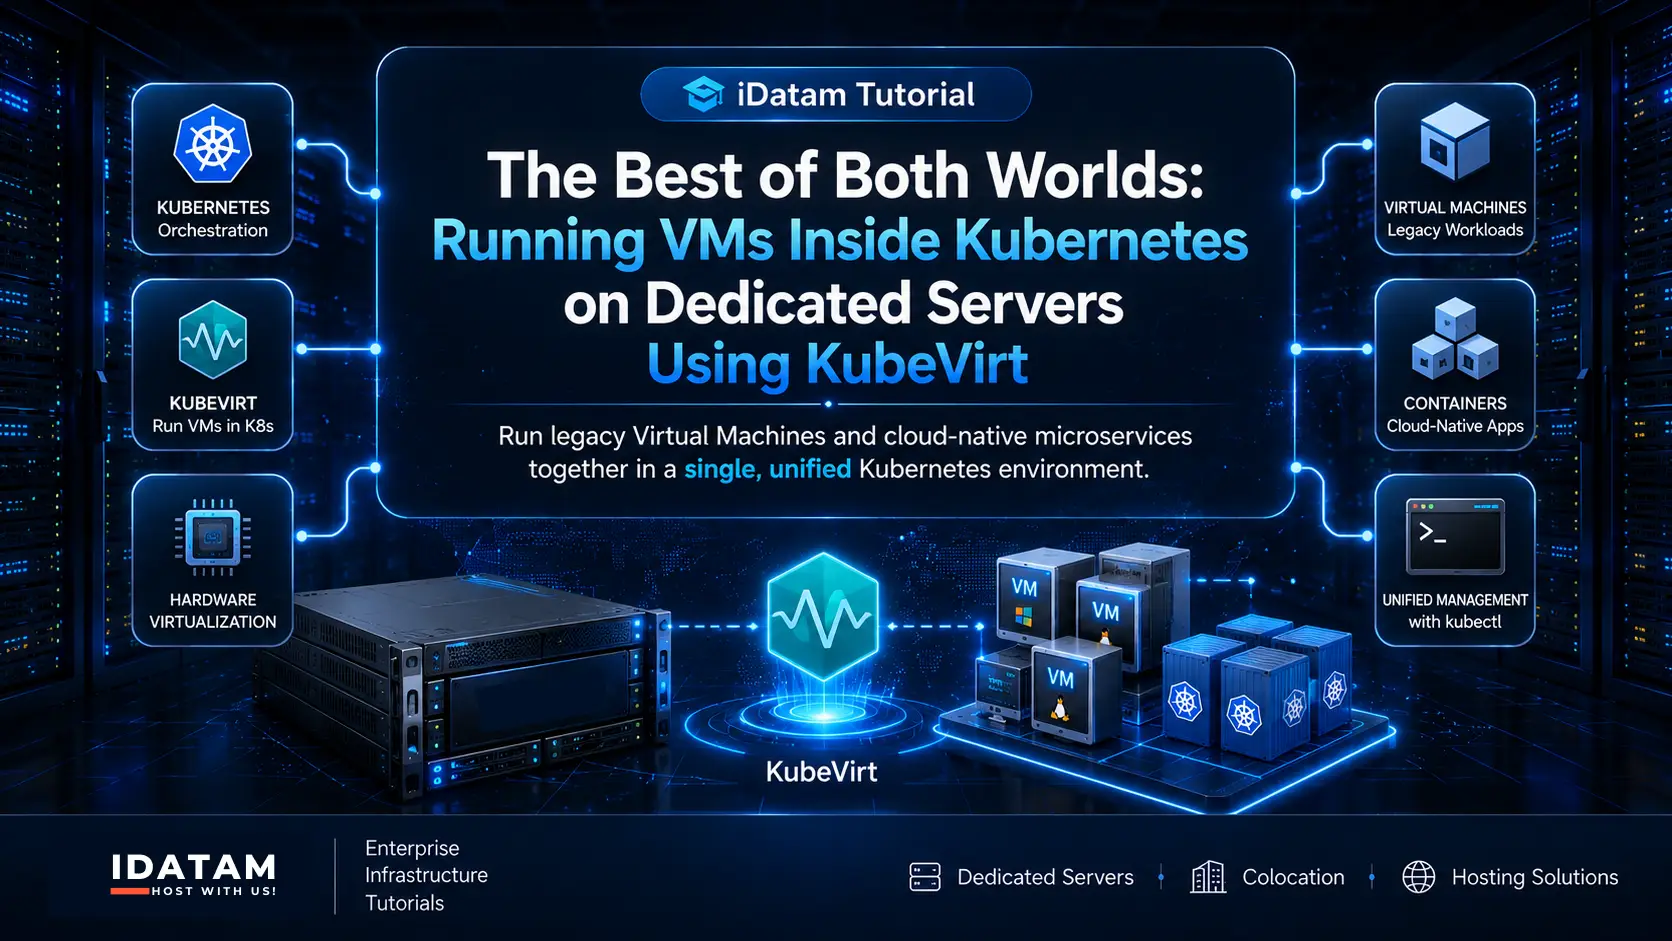
Infrastructure engineering teams frequently face a costly dilemma: how to modernise applications without abandoning legacy workloads. Modern microservices run inside Kubernetes containers, but legacy databases, monolithic applications, or Windows Server instances still require traditional Virtual Machines (VMs).
Traditionally, companies renting bare-metal dedicated servers solved this by building two separate clusters: one running a hypervisor like VMware ESXi or Proxmox for VMs, and another running bare-metal Kubernetes for containers. This dual-infrastructure approach doubles your hardware spend, complicates network architecture, and creates operational silos.
Fortunately, KubeVirt eliminates this compromise. KubeVirt is an open-source Kubernetes extension that allows you to run traditional Virtual Machines natively inside Kubernetes pods. In this tutorial, we will walk you through setting up a KubeVirt bare metal dedicated server environment, empowering you to replace VMware on dedicated servers and manage all your containerized and virtualized workloads through a single kubectl interface.
What You'll Learn
The Dual-Infrastructure Trap (VMware vs. Kubernetes)
How KubeVirt Architecture Works Under the Hood
Step 1: Bare Metal Hardware Prerequisites & Hardware Virtualization
Step 2: Preparing Your Bare-Metal Kubernetes Cluster
Step 3: Deploying the KubeVirt Operator and CRDs
Step 4: Installing virtctl and Writing a VM Specification
Step 5: Provisioning, Launching, and Interacting with the VM
The Dual-Infrastructure Trap (VMware vs. Kubernetes)
When migrating infrastructure to high-performance bare-metal servers, many enterprises attempt to run Kubernetes inside virtual machines on top of a hypervisor like Proxmox or VMware. While this provides VM flexibility, it introduces a major performance penalty known as virtualization overhead. You lose direct access to raw NVMe storage, CPU instruction sets, and network interfaces.
Conversely, running Kubernetes directly on bare metal gives you 100% hardware efficiency, but leaves no room for legacy monolithic apps or Windows services that cannot easily be containerized into Docker images.
How KubeVirt Architecture Works Under the Hood
KubeVirt solves this by flipping the architecture on its head: instead of running Kubernetes inside virtual machines, you run VMs inside Kubernetes.
KubeVirt adds custom resource definitions (CRDs) to your Kubernetes API server. When you request a Virtual Machine, KubeVirt creates a standard Kubernetes Pod called a virt-launcher. Inside this pod, KubeVirt executes a standard QEMU/KVM instance.
To Kubernetes, the VM is just another pod that can be scheduled, network-routed, monitored, and backed up like any container. To the operating system inside the VM, it is a full virtual machine with dedicated vCPUs, RAM, virtual disks, and network interface cards (NICs).
Step 1: Bare Metal Hardware Prerequisites & Hardware Virtualization
Because KubeVirt runs actual KVM virtual machines, your underlying bare-metal dedicated server must support hardware-assisted virtualization (Intel VT-x or AMD-V).
1.1 Verify Hardware Virtualization
Log into your bare-metal server node via SSH and verify that CPU virtualization extensions are enabled in your server's BIOS/IPMI:
egrep -c '(vmx|svm)' /proc/cpuinfo
If the command returns a number greater than 0, your hardware supports virtualization.
1.2 Install KVM Kernel Modules
Install qemu-kvm and ensure the KVM kernel module is loaded on your host operating system (Ubuntu 22.04 LTS or Ubuntu 24.04 LTS):
sudo apt update
sudo apt install qemu-kvm libvirt-daemon-system libvirt-clients bridge-utils -y
sudo modprobe kvm
Verify KVM access:
ls -l /dev/kvm
You should see /dev/kvm listed with root and kvm group ownership.
Step 2: Preparing Your Bare-Metal Kubernetes Cluster
To follow this tutorial, you should have an existing bare-metal Kubernetes cluster (v1.28 or newer) running on your iDatam dedicated server infrastructure.
Verify that your cluster nodes are healthy and kubectl is configured:
kubectl get nodes -o wide
Ensure your container runtime (such as containerd) is operational across all worker nodes.
Step 3: Deploying the KubeVirt Operator and CRDs
KubeVirt uses an operator pattern to manage its lifecycle, deploy Custom Resource Definitions (CRDs), and manage virtualization components across worker nodes.
3.1 Fetch the Latest Release Tag
Fetch the latest release version of KubeVirt using curl:
export KUBEVIRT_VERSION=$(curl -s https://api.github.com/repos/kubevirt/kubevirt/releases/latest | grep '"tag_name":' | sed -E 's/.*"([^"]+)".*/\1/')
echo "Installing KubeVirt Version: ${KUBEVIRT_VERSION}"
3.2 Deploy the KubeVirt Operator
Deploy the core KubeVirt operator manifest:
kubectl apply -f https://github.com/kubevirt/kubevirt/releases/download/${KUBEVIRT_VERSION}/kubevirt-operator.yaml
3.3 Deploy the KubeVirt Custom Resource
Trigger the deployment of KubeVirt components by creating the Custom Resource instance:
kubectl apply -f https://github.com/kubevirt/kubevirt/releases/download/${KUBEVIRT_VERSION}/kubevirt-cr.yaml
3.4 Verify Deployment Status
Monitor the deployment status until all KubeVirt components (virt-api, virt-controller, virt-handler) are running in the kubevirt namespace:
kubectl get pods -n kubevirt -w
Once all pods display Running status, verify the KubeVirt deployment phase:
kubectl get kubevirt -n kubevirt -o jsonpath='{.items[*].status.phase}'
It should return Deployed.
Step 4: Installing virtctl and Writing a VM Specification
To manage Virtual Machines (start, stop, pause, open serial consoles), KubeVirt provides a command-line tool called virtctl.
4.1 Install virtctl
Download and install virtctl on your administrative workstation or control-plane node:
VERSION=$(curl -s https://api.github.com/repos/kubevirt/kubevirt/releases/latest | grep '"tag_name":' | sed -E 's/.*"([^"]+)".*/\1/')
curl -L -o virtctl https://github.com/kubevirt/kubevirt/releases/download/${VERSION}/virtctl-${VERSION}-linux-amd64
chmod +x virtctl
sudo mv virtctl /usr/local/bin/
Verify the installation:
virtctl version
4.2 Define a Virtual Machine Spec (vm.yaml)
In KubeVirt, you define virtual machines using standard Kubernetes YAML syntax. In this example, we will provision an Ubuntu Virtual Machine using a containerized disk image (containerdisk) provided by KubeVirt.
Create a file named ubuntu-vm.yaml:
apiVersion: kubevirt.io/v1
kind: VirtualMachine
metadata:
  name: ubuntu-legacy-app
  labels:
    app: legacy-database
spec:
  running: false
  template:
    metadata:
      labels:
        kubevirt.io/domain: ubuntu-legacy-app
    spec:
      domain:
        devices:
          disks:
            - name: containerdisk
              disk:
                bus: virtio
            - name: cloudinitdisk
              disk:
                bus: virtio
          interfaces:
            - name: default
              masquerade: {}
        resources:
          requests:
            memory: 2Gi
            cpu: "2"
      networks:
        - name: default
          pod: {}
      volumes:
        - name: containerdisk
          containerDisk:
            image: kubevirt/ubuntu-ci-container-disk:22.04
        - name: cloudinitdisk
          cloudInitNoCloud:
            userData: |
              #cloud-config
              user: idatam
              password: SecurePassword2026!
              chpasswd: { expire: False }
              ssh_pwauth: True
Step 5: Provisioning, Launching, and Interacting with the VM
With your manifest prepared, you can manage the life cycle of your Virtual Machine using familiar Kubernetes commands.
5.1 Create the Virtual Machine Object
Apply the YAML file to register the Virtual Machine definition with Kubernetes:
kubectl apply -f ubuntu-vm.yaml
Check the status of your newly defined VM:
kubectl get vm
The VM state will show Stopped because running: false was declared in the specification.
5.2 Start the Virtual Machine
Use virtctl to power on the Virtual Machine:
virtctl start ubuntu-legacy-app
Verify that KubeVirt has scheduled a virt-launcher pod to execute the KVM virtual machine:
kubectl get vmi
kubectl get pods
You will see a pod named virt-launcher-ubuntu-legacy-app-xxxx transition to Running status.
5.3 Access the VM Console
Connect directly to the serial console of the running Virtual Machine using virtctl:
virtctl console ubuntu-legacy-app
Press Enter to reveal the login prompt. Log in using the cloud-init credentials configured in step 4 (user: idatam, password: SecurePassword2026!).
To disconnect from the virtctl console, press Ctrl + ].
5.4 Expose the Virtual Machine as a Service
Because KubeVirt integrates natively with Kubernetes networking, you can expose your Virtual Machine's ports (such as SSH or web services) using a standard Kubernetes Service:
kubectl expose vmi ubuntu-legacy-app --name=ubuntu-vm-ssh --port=22 --type=NodePort
Verify the mapped NodePort:
kubectl get svc ubuntu-vm-ssh
You can now SSH directly into your legacy Virtual Machine using your bare-metal server node's IP address and the assigned NodePort:
ssh -p <NodePort> idatam@<Server-IP>
By consolidating your infrastructure on a KubeVirt bare metal dedicated server, you get the efficiency and raw performance of bare-metal Kubernetes alongside the isolation and compatibility of traditional Virtual Machines. This strategy allows you to sunset costly hypervisor licenses, streamline cluster administration, and run your entire software stack on unified bare-metal hardware.
iDatam Recommended Tutorials

Dedicated Server
Build a Private Cloud: Install Proxmox on Bare Metal
Learn how to install and secure Proxmox VE on a bare-metal dedicated server. Turn a massive AMD EPYC machine into a secure, self-hosted private cloud.

Dedicated Server
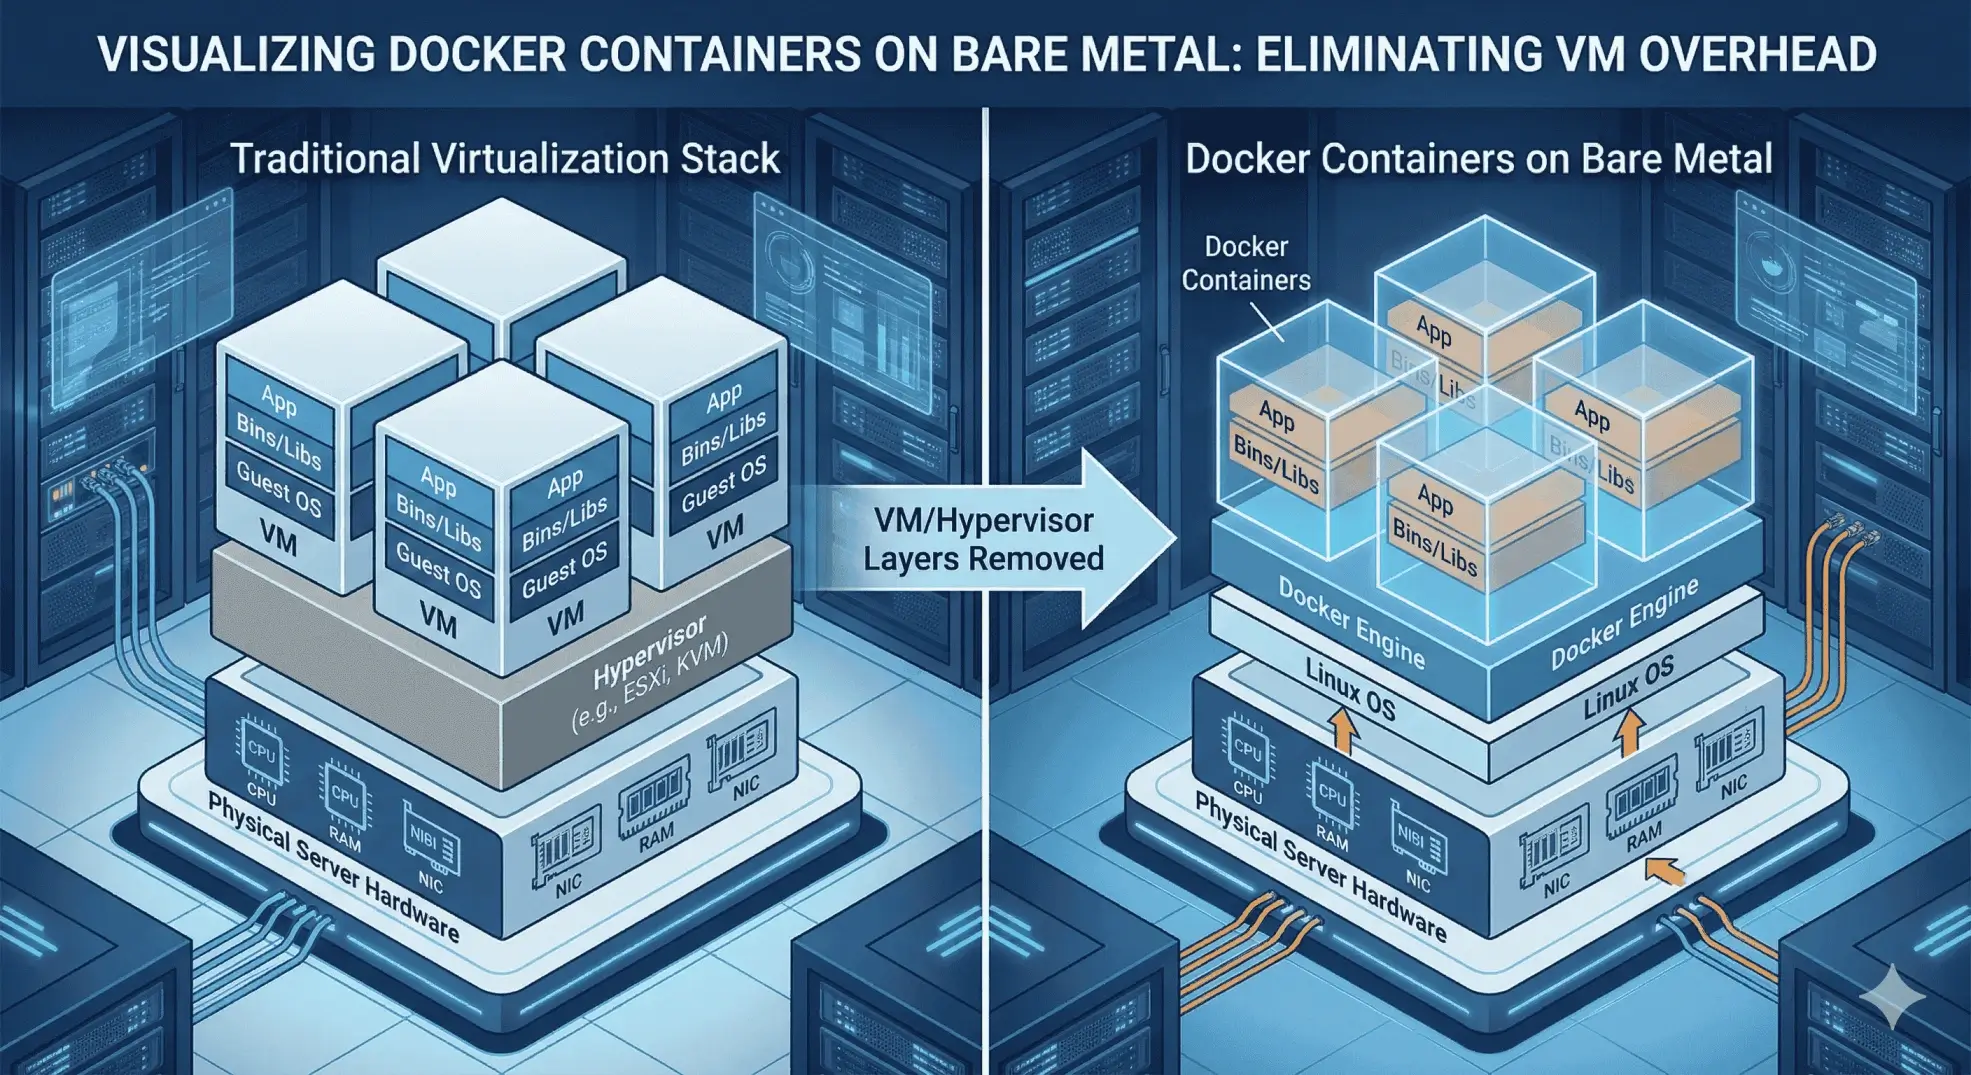
Bare Metal Containerization: Deploying Docker Without Virtualization Overhead
Learn how to deploy Docker directly on a bare metal server to eliminate virtualization overhead. This step-by-step server containerization tutorial covers installation, networking, and performance optimization.
Dedicated Server
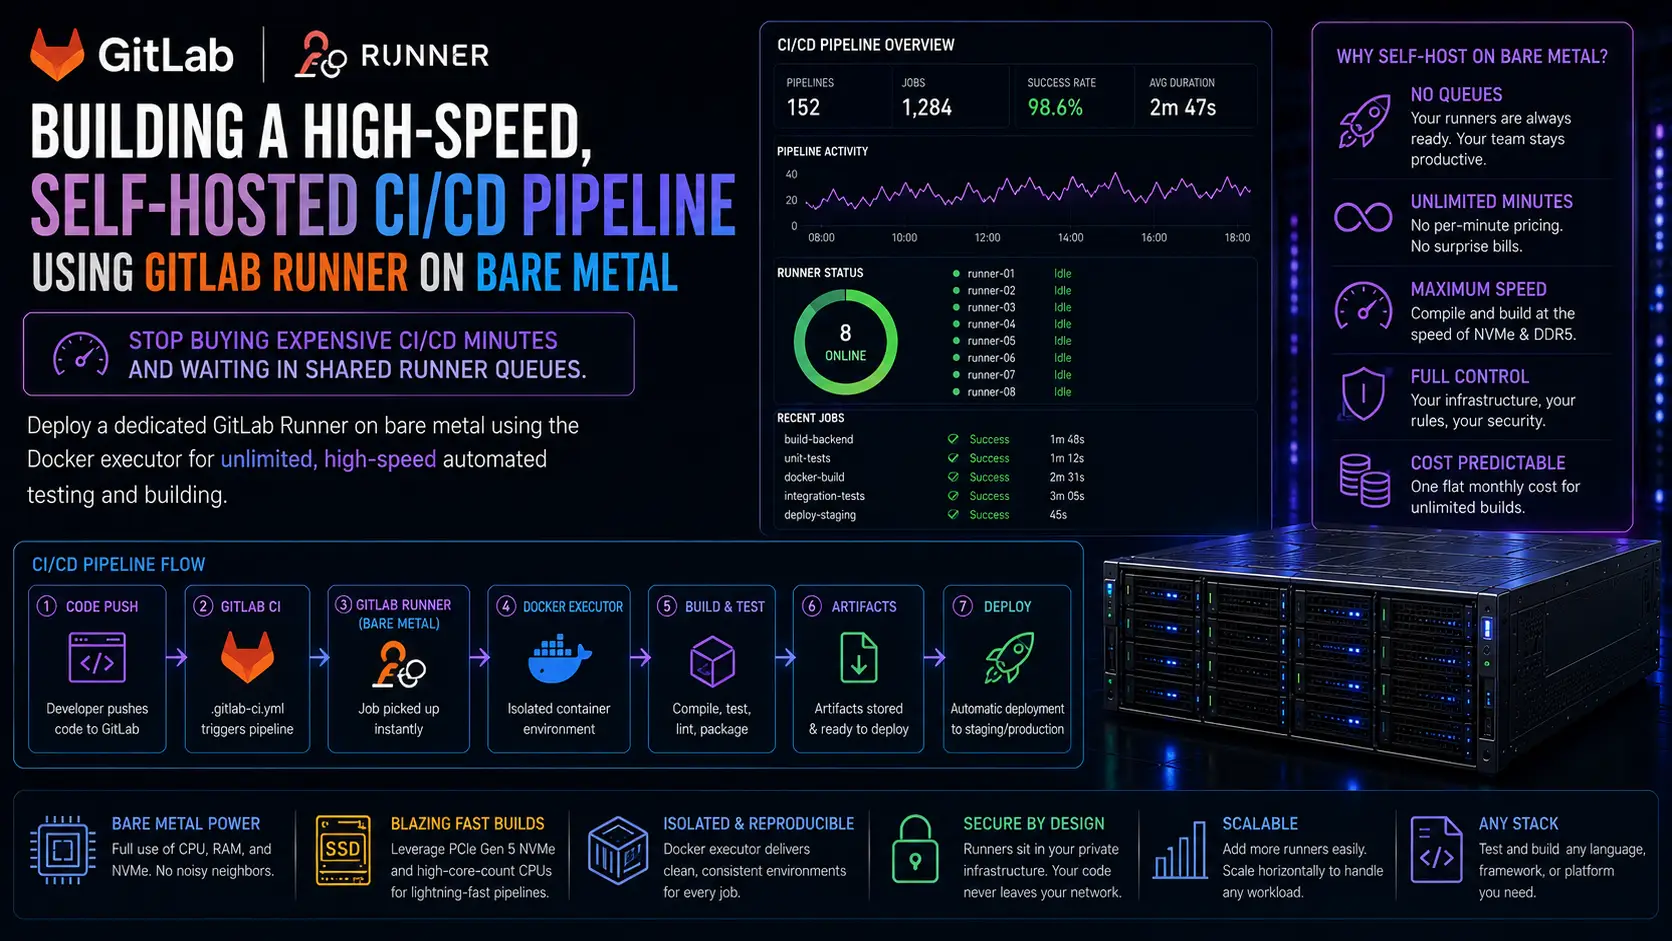
Building a High-Speed, CI/CD Pipeline using GitLab Runner
Learn how to escape cloud CI/CD minute limits by self-hosting a high-speed GitLab Runner using the Docker executor on a dedicated server.
Discover iDatam Dedicated Server Locations
iDatam servers are available around the world, providing diverse options for hosting websites. Each region offers unique advantages, making it easier to choose a location that best suits your specific hosting needs.
