
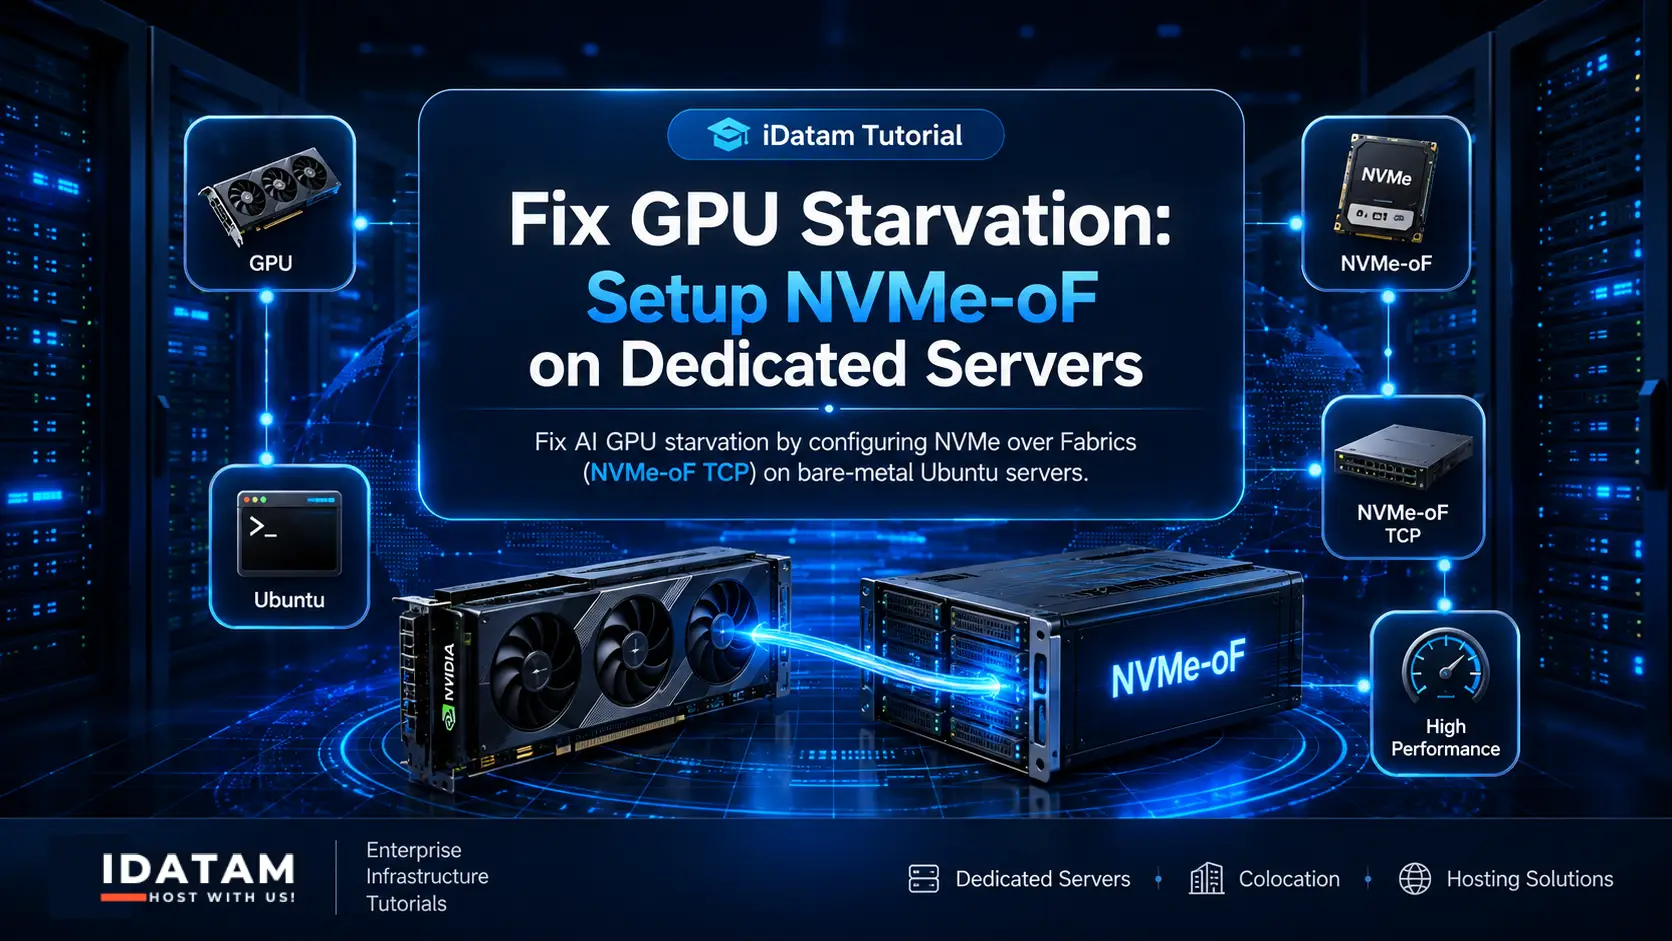
When running multi-node AI training or massive data processing on dedicated servers, the network often becomes your biggest enemy. You can buy the fastest NVIDIA GPUs in the world, but if they process data faster than your storage network can deliver it, your GPUs will sit idle waiting for the next batch. This phenomenon is known as "GPU starvation," and traditional network file systems like NFS, or even unoptimized Ceph clusters, are the usual suspects.
To solve this, enterprise cloud engineers use NVMe over Fabrics (NVMe-oF). NVMe-oF allows a client server (the Initiator) to access an NVMe drive on a remote dedicated server (the Target) over the network, treating it exactly as if it were plugged directly into its own motherboard. In this comprehensive guide, we will walk you through setting up NVMe-oF using the TCP transport protocol on bare-metal Ubuntu servers, unlocking massive storage throughput and crushing your data bottlenecks for good.
What You'll Learn
The GPU Starvation Problem
Why NVMe-oF (TCP) is the Ultimate Solution
Step 1: Bare Metal Hardware Prerequisites
Step 2: Configuring the NVMe-oF Target (Storage Server)
Step 3: Configuring the NVMe-oF Initiator (Client Server)
Step 4: Formatting and Mounting the Remote NVMe Drive
Step 5: Performance Tuning and Benchmarking
The GPU Starvation Problem
Modern AI workloads, such as Large Language Model (LLM) training or high-resolution computer vision processing, require reading terabytes of dataset checkpoints per hour. A standard dedicated server might have lightning-fast local PCIe Gen4 or Gen5 NVMe drives, but when you scale your workload across multiple compute nodes, you need shared storage.
Historically, administrators would set up an NFS share. However, the overhead of the NFS protocol, context switching, and the TCP/IP stack introduces significant latency. When the CPU spends all its time managing network packets rather than feeding data to the GPU, your expensive compute hardware is underutilized. You are paying for 100% GPU performance but only getting 40% because of I/O wait times.
Why NVMe-oF (TCP) is the Ultimate Solution
NVMe-oF extends the lightweight, highly parallel NVMe storage protocol across a network. Instead of translating file requests through complex file systems, NVMe-oF sends raw NVMe commands directly over the fabric.
While NVMe-oF can run over RDMA (RoCE or InfiniBand) for absolute maximum performance, configuring RDMA requires specialized network cards and switch configurations. NVMe/TCP, on the other hand, runs over standard Ethernet. It provides 90% of the performance of RDMA but works out-of-the-box on almost any modern bare-metal server infrastructure, making it the perfect, highly accessible solution for your iDatam dedicated servers.
Step 1: Bare Metal Hardware Prerequisites
Before we begin, you need two dedicated servers communicating over a private, high-speed local network (VLAN). Attempting this over the public internet is highly insecure and will result in terrible latency.
Target Server (Storage): A dedicated server with at least one unused local NVMe drive. Let's assume its private IP is
10.0.0.10.Initiator Server (Compute/GPU): A dedicated server that needs the high-speed storage. Let's assume its private IP is
10.0.0.20.Operating System: Ubuntu 22.04 LTS or Ubuntu 24.04 LTS on both machines.
Network: A 10Gbps or higher private network link between the two servers.
Preparation on both servers: Update your package repositories and upgrade your system to ensure you have the latest kernel patches.
sudo apt update && sudo apt upgrade -y
Step 2: Configuring the NVMe-oF Target (Storage Server)
The Target server is the machine that physically holds the NVMe drive. We need to expose this drive over the network using the nvmet subsystem.
2.1 Load Kernel Modules
First, load the necessary NVMe target and NVMe-TCP kernel modules.
sudo modprobe nvmet
sudo modprobe nvmet-tcp
To make these modules persist across reboots, add them to /etc/modules:
echo "nvmet" | sudo tee -a /etc/modules
echo "nvmet-tcp" | sudo tee -a /etc/modules
2.2 Identify the NVMe Drive
Find the block device name of the NVMe drive you want to share.
lsblk
Let's assume the drive you want to share is /dev/nvme1n1. Warning: Ensure this drive does not contain your operating system, as we will be giving block-level access to the Initiator.
2.3 Install NVMe Configuration Tools
Install the nvmetcli tool, which provides a user-friendly way to configure the NVMe target subsystem.
sudo apt install nvmetcli -y
2.4 Configure the Subsystem
We will use nvmetcli to create a configuration. You can do this interactively, but it is much safer and reproducible to use a JSON configuration file.
Create a file named nvmet-config.json:
{
  "ports": [
    {
      "addr": {
        "adrfam": "ipv4",
        "traddr": "10.0.0.10",
        "treq": "not specified",
        "trsvcid": "4420",
        "trtype": "tcp"
      },
      "portid": 1,
      "referrals": [],
      "subsystems": [
        "nqn.2026-08.com.idatam:storage.target01"
      ]
    }
  ],
  "hosts": [],
  "subsystems": [
    {
      "allowed_hosts": [],
      "attr": {
        "allow_any_host": "1",
        "serial": "IDATAM001",
        "version": "1.3"
      },
      "namespaces": [
        {
          "device": {
            "nguid": "00000000-0000-0000-0000-000000000000",
            "path": "/dev/nvme1n1",
            "uuid": "00000000-0000-0000-0000-000000000000"
          },
          "enable": 1,
          "nsid": 1
        }
      ],
      "subnqn": "nqn.2026-08.com.idatam:storage.target01"
    }
  ]
}
Explanation of parameters:
traddr: The private IP of your storage server (
10.0.0.10).trsvcid: The default NVMe-oF TCP port is
4420.subnqn: The NVMe Qualified Name. This acts as the unique identifier for your storage subsystem.
path: The block device we are sharing (
/dev/nvme1n1).allow_any_host: Set to
1for simplicity in this tutorial, but in production, you should restrict this to specific Initiator NQNs for security.
Apply the configuration:
sudo nvmetcli restore nvmet-config.json
Verify that the target is listening on port 4420:
ss -tlnp | grep 4420
Step 3: Configuring the NVMe-oF Initiator (Client Server)
Now, log into your compute node (the GPU server at 10.0.0.20). This server will connect to the target and mount the drive.
3.1 Load Client Kernel Modules
Load the NVMe TCP client module:
sudo modprobe nvme-tcp
echo "nvme-tcp" | sudo tee -a /etc/modules
3.2 Install NVMe-CLI
Install the standard nvme-cli package, which is used to discover and connect to NVMe-oF targets.
sudo apt install nvme-cli -y
3.3 Discover the Target
Run a discovery command to ensure the Initiator can see the subsystem exported by the Target.
sudo nvme discover -t tcp -a 10.0.0.10 -s 4420
You should see output similar to this:
Discovery Log Number of Records 1, Generation counter 2
=====Discovery Log Entry 0======
trtype:  tcp
adrfam:  ipv4
subtype: nvme subsystem
treq:    not specified
portid:  1
trsvcid: 4420
subnqn:  nqn.2026-08.com.idatam:storage.target01
traddr:  10.0.0.10
3.4 Connect to the Target
Now, issue the connect command using the NQN we defined earlier:
sudo nvme connect -t tcp -n nqn.2026-08.com.idatam:storage.target01 -a 10.0.0.10 -s 4420
If successful, the command will return silently. Verify the connection by checking your block devices:
lsblk
You should now see a new NVMe drive (e.g., nvme1n1 or nvme2n1) listed on your Initiator server, even though the physical drive is inside the Target server. To view detailed information about the remote NVMe drive:
sudo nvme list
Step 4: Formatting and Mounting the Remote NVMe Drive
Because NVMe-oF provides raw block-level access, you can treat this new remote drive exactly like a local disk.
4.1 Create a File System
Let's format the new remote drive (assuming it mapped to /dev/nvme1n1 on the Initiator) with the XFS file system, which is highly optimized for large files and high I/O workloads like AI datasets.
sudo mkfs.xfs -f /dev/nvme1n1
4.2 Mount the Drive
Create a mount point and mount the drive:
sudo mkdir -p /mnt/ai_datasets
sudo mount /dev/nvme1n1 /mnt/ai_datasets
Check that the drive is mounted and available:
df -h /mnt/ai_datasets
4.3 Persistent Mounting (fstab)
To ensure the drive reconnects and mounts automatically after a reboot of the compute node, we need to configure NVMe auto-connect and fstab.
First, generate the NVMe connection configuration automatically:
sudo nvme discover -t tcp -a 10.0.0.10 -s 4420 -p
Next, enable the nvme-tcp auto-connect systemd service:
sudo systemctl enable nvme-auth.service
sudo systemctl enable nvmf-autoconnect.service
Finally, add the drive to your /etc/fstab. It is crucial to use the _netdev option so the system knows this is a network drive and waits for the network to initialize before attempting to mount it. Find the UUID of the drive using blkid /dev/nvme1n1 and add this line to /etc/fstab:
UUID=your-uuid-here /mnt/ai_datasets xfs defaults,_netdev,x-systemd.requires=network-online.target 0 0
Step 5: Performance Tuning and Benchmarking
To ensure you have truly cured your GPU starvation, you need to verify the throughput and latency of your new NVMe-oF setup.
5.1 Benchmarking with FIO
Install fio to test the raw I/O performance of the mounted drive.
sudo apt install fio -y
Run a sequential read test (common for loading AI checkpoints):
sudo fio --name=seqread --ioengine=libaio --iodepth=64 --rw=read --bs=1M --direct=1 --size=10G --numjobs=4 --runtime=60 --group_reporting --filename=/mnt/ai_datasets/testfile
You should see throughput numbers closely matching the maximum bandwidth of your private network connection (e.g., ~1100 MB/s on a 10Gbps link).
5.2 Jumbo Frames (MTU 9000)
If you want to squeeze every last drop of performance out of NVMe over TCP, you must configure Jumbo Frames. Standard Ethernet frames have an MTU of 1500 bytes. By increasing this to 9000 bytes, you drastically reduce the packet header overhead and CPU interruptions on both the Target and Initiator servers.
To do this temporarily (test this before making it permanent):
sudo ip link set dev eth1 mtu 9000
(Replace eth1 with the name of your private network interface on both servers).
After enabling Jumbo Frames on both servers (and ensuring your private network switch supports it), re-run the fio benchmark. You should see a noticeable drop in CPU utilization and an increase in total throughput, ensuring your GPUs are fed data as fast as they can process it.
iDatam Recommended Tutorials

Dedicated Server, Database
How to Set Up a PostgreSQL Cluster (Patroni) on Bare Metal
Learn how to escape AWS RDS costs by deploying a High-Availability PostgreSQL cluster on bare metal using Patroni.

Dedicated Server
Multi-Model Serving with SGLang on Dedicated GPUs
Stop wasting VRAM. Learn how to deploy SGLang on a bare-metal GPU server to serve multiple LLMs simultaneously, eliminate fragmentation, and boost inference.
Database, Dedicated Servers
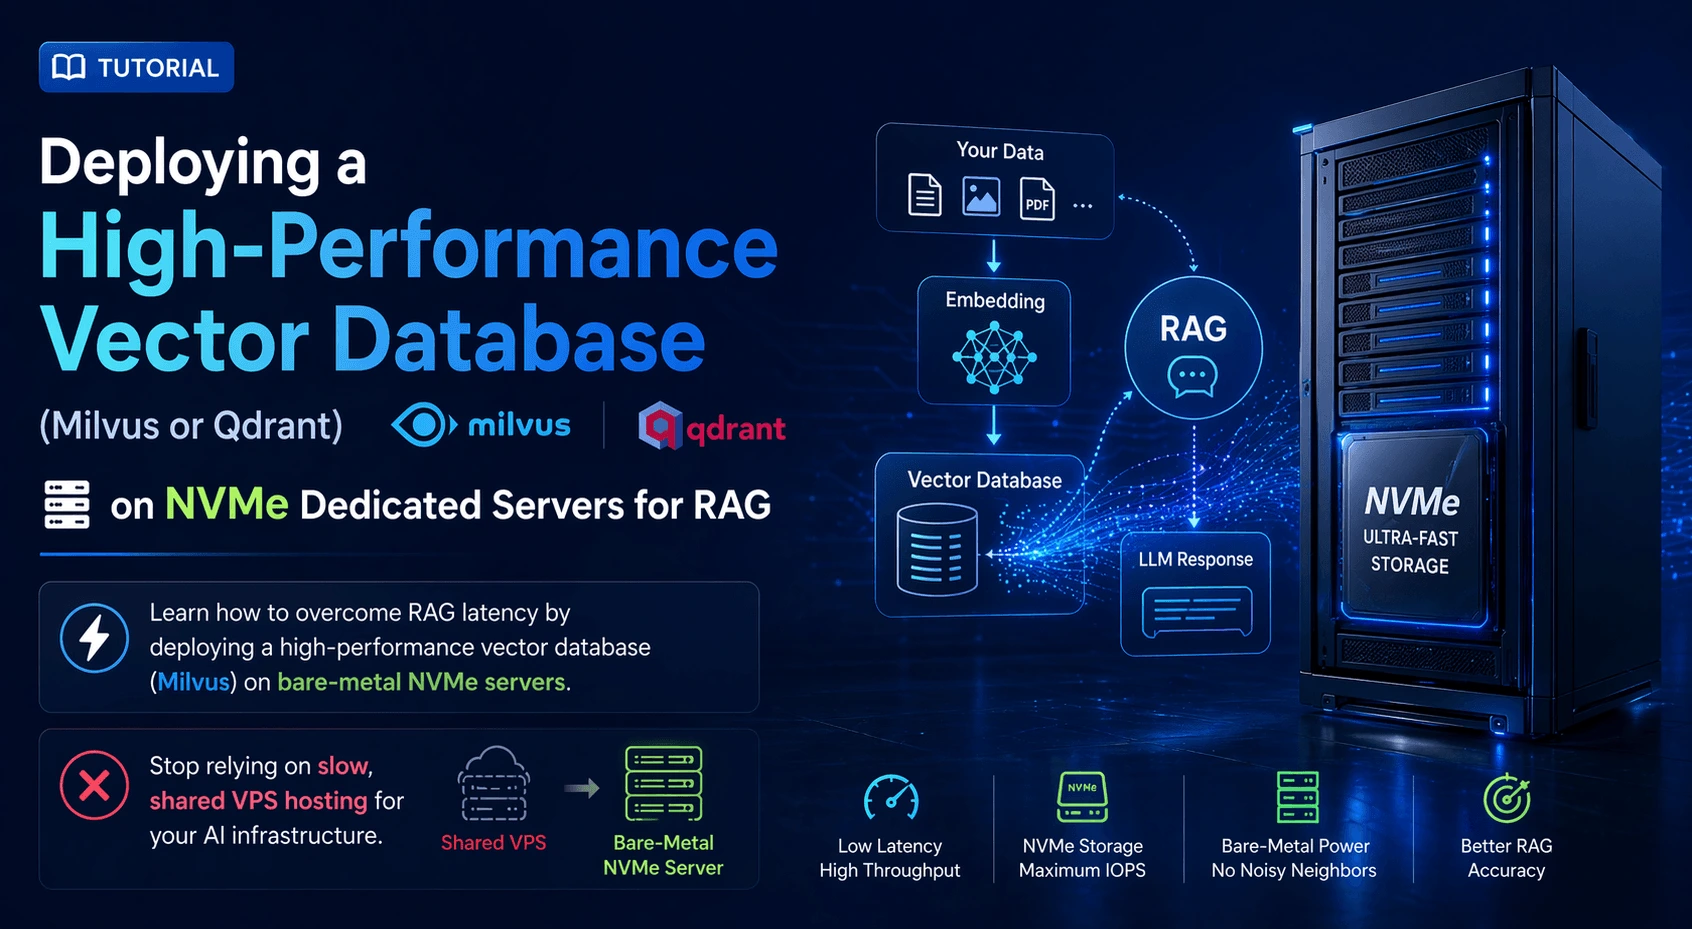
Deploying a Vector Database on NVMe Dedicated Servers
Learn how to overcome RAG latency by deploying a high-performance vector database (Milvus) on bare-metal NVMe servers.
Discover iDatam Dedicated Server Locations
iDatam servers are available around the world, providing diverse options for hosting websites. Each region offers unique advantages, making it easier to choose a location that best suits your specific hosting needs.
