
For over two decades, hardware RAID controllers were the gold standard for enterprise servers. If you wanted speed and redundancy from spinning hard drives or SAS SSDs, a dedicated RAID card with its own onboard processor and battery-backed cache was mandatory.
However, the storage landscape has completely changed. Modern PCIe Gen4 and Gen5 NVMe drives are incredibly fast, capable of millions of IOPS (Input/Output Operations Per Second). They were specifically engineered to bypass legacy storage protocols and plug directly into the CPU's PCIe lanes.
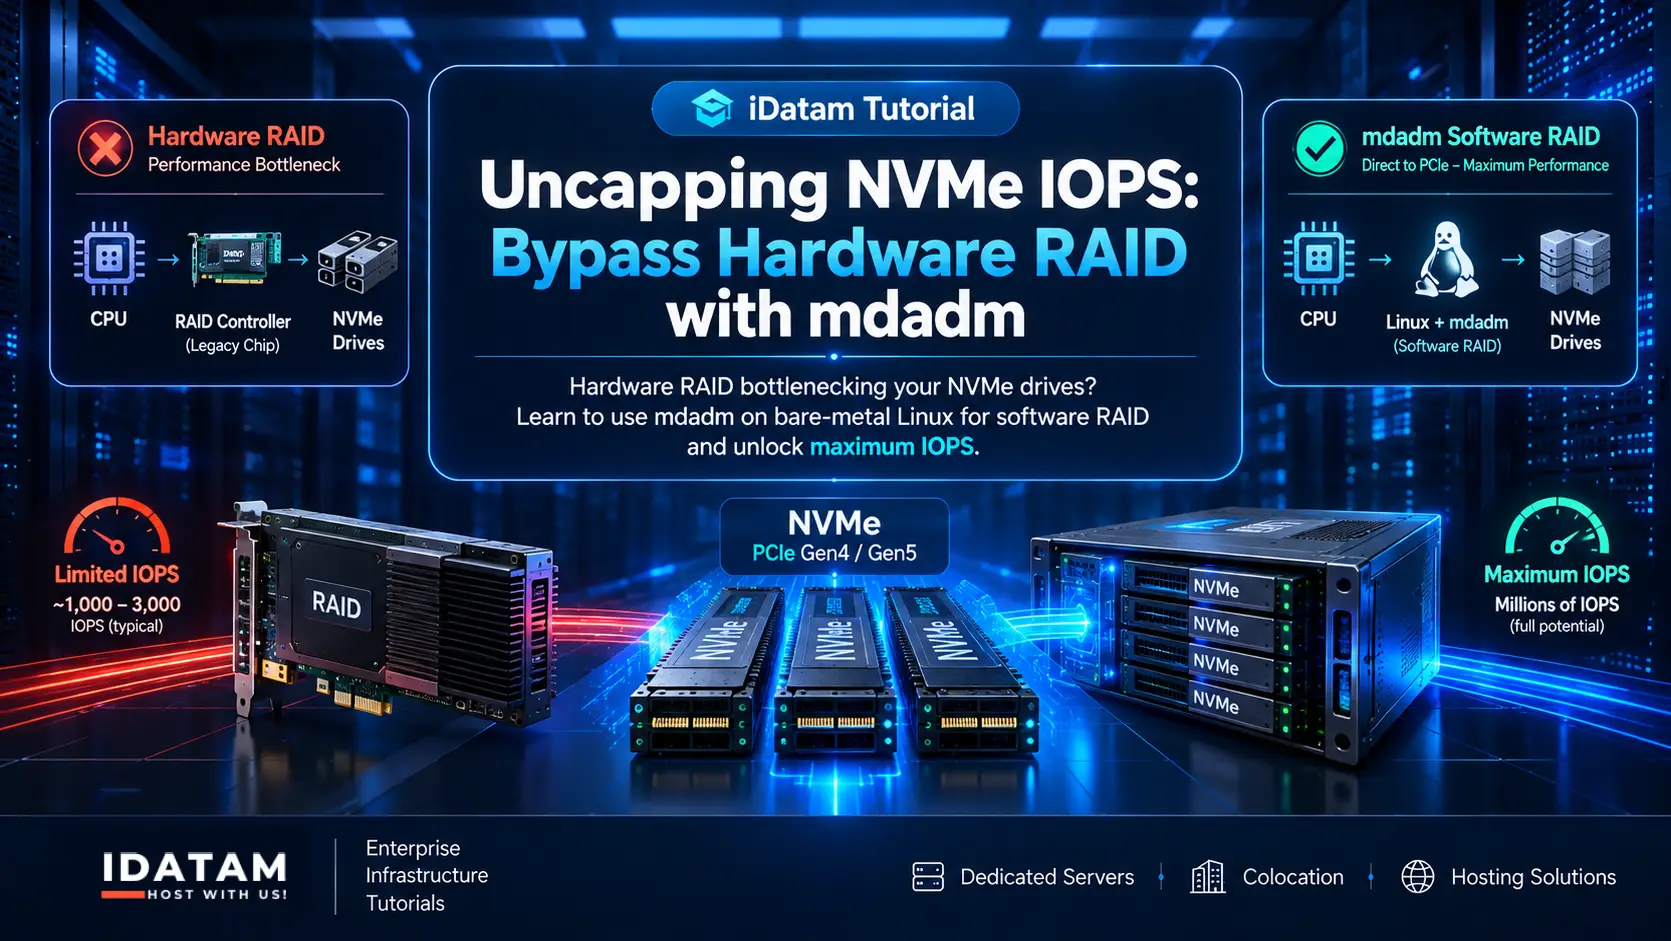
When you place a hardware RAID controller between a modern CPU and an NVMe drive, you force the blazing-fast NVMe protocol back through a legacy chokepoint. The RAID card's processor simply cannot keep up with the IOPS generated by the NVMe drives, effectively capping your storage performance to a fraction of its true potential.
To unleash the full power of your bare-metal infrastructure—especially for database hosting, high-traffic APIs, or AI workloads on iDatam dedicated servers—you must strip out the hardware RAID. The solution is Linux Software RAID (mdadm). Modern Intel and AMD processors are so powerful that handling RAID parity calculations in software consumes negligible CPU overhead, allowing your NVMe drives to communicate natively and operate at absolute maximum throughput.
What You'll Learn
Understanding the Hardware RAID Bottleneck
Step 1: Identifying Your Raw NVMe Drives
Step 2: Preparing and Wiping the Drives
Step 3: Creating the Software RAID Array
Step 4: Formatting and Mounting the High-Speed Volume
Step 5: Making the RAID Configuration Persistent
Understanding the Hardware RAID Bottleneck
Hardware RAID cards use standard PCIe slots, but they introduce an intermediary logic chip. When an application requests data, the CPU talks to the RAID card, the RAID card translates the request, fetches it from the drives, stores it in its cache, and sends it back.
With legacy SATA/SAS SSDs maxing out around 500 MB/s to 1 GB/s, this wasn't an issue. But a single Gen4 NVMe drive can push 7,000 MB/s. A cluster of four NVMe drives can easily saturate 28,000 MB/s. No standard hardware RAID controller chip can process that bandwidth without introducing massive latency. By using mdadm, the Linux kernel bypasses intermediary hardware logic, striping data directly across the drives over the native PCIe bus.
Step 1: Identifying Your Raw NVMe Drives
First, log into your dedicated server and ensure your operating system can see the raw NVMe drives. Since you've bypassed or removed the hardware RAID controller, the drives should appear individually to the OS.
Run the block device list command:
lsblk
You should see your NVMe drives listed typically as nvme0n1, nvme1n1, nvme2n1, etc. Identify the drives you want to stripe together into a high-performance array. Ensure you do not accidentally select your primary OS boot drive!
Step 2: Preparing and Wiping the Drives
Before creating a new software RAID array, you must ensure the target drives are completely clean and free of old partitions or leftover RAID superblocks.
Use the wipefs command on the drives you intend to use (for example, nvme1n1 and nvme2n1):
sudo wipefs -a /dev/nvme1n1
sudo wipefs -a /dev/nvme2n1
This safely removes any previous filesystem signatures, ensuring a clean slate for mdadm.
Step 3: Creating the Software RAID Array
Now we will use the mdadm utility to create the array. In this example, we will create a RAID 0 array (data striping for maximum performance and capacity, but zero redundancy) using two NVMe drives. If you need redundancy, you can change the level to RAID 1 (mirroring) or RAID 5/10 depending on your drive count.
Execute the following command to create the array (named /dev/md0):
sudo mdadm --create --verbose /dev/md0 --level=0 --raid-devices=2 /dev/nvme1n1 /dev/nvme2n1
The system will instantly build the array. You can verify its status and watch it synchronize by checking the mdstat file:
cat /proc/mdstat
You should see /dev/md0 listed as active.
Step 4: Formatting and Mounting the High-Speed Volume
With the software RAID block device (/dev/md0) created, we need to format it with a high-performance filesystem. For large databases and heavy parallel I/O, XFS or EXT4 are standard. We will use XFS.
Format the new array:
sudo mkfs.xfs /dev/md0
Create a Mount Point:
Create a mount point on your system where the storage will be accessed (for example, /mnt/fast_data):
sudo mkdir -p /mnt/fast_data
Mount the Array:
Mount the array to the directory:
sudo mount /dev/md0 /mnt/fast_data
You can confirm the storage is mounted and verify the total capacity by running:
df -h /mnt/fast_data
Step 5: Making the RAID Configuration Persistent
If you reboot the server now, it might not automatically reassemble and mount the array. We need to save the configuration and update the file system table (fstab).
Save mdadm Configuration
First, save the mdadm array configuration so the system knows how to rebuild it on boot:
sudo mdadm --detail --scan | sudo tee -a /etc/mdadm/mdadm.conf
Update initramfs
Next, update your initramfs (initial RAM filesystem) to ensure the bootloader is aware of the RAID setup:
On Ubuntu/Debian:
sudo update-initramfs -u
On CentOS/RHEL/AlmaLinux:
sudo dracut -H -f
Edit fstab
Finally, add the mount point to /etc/fstab so it mounts automatically. First, find the UUID of your new filesystem:
sudo blkid /dev/md0
Copy the UUID and add it to your /etc/fstab file:
sudo nano /etc/fstab
Add the following line (replace YOUR-UUID-HERE with the actual UUID):
UUID=YOUR-UUID-HERE /mnt/fast_data xfs defaults,nofail,discard 0 0
(Note: The discard flag is useful for continuous TRIM operations on NVMe drives to maintain long-term write performance).
Conclusion
By dumping the legacy hardware RAID controller and leveraging mdadm, you have removed the biggest storage bottleneck in modern infrastructure. Your CPU is now communicating directly with the NVMe drives over native PCIe lanes, resulting in uncapped IOPS, drastically lower latency, and the absolute maximum throughput your bare-metal server can provide.
iDatam Recommended Tutorials

Dedicated Server
Configure HA Ceph Storage on NVMe Dedicated Servers
Learn how to deploy a High-Availability Ceph storage cluster across three bare-metal NVMe dedicated servers.


Database, Dedicated Servers
Deploying a Vector Database on NVMe Dedicated Servers
Learn how to overcome RAG latency by deploying a high-performance vector database (Milvus) on bare-metal NVMe servers.

Dedicated Server, Storage
Building an S3-Compatible Object Storage Server on Bare Metal
Learn how to escape massive AWS S3 storage by deploying a high-performance, distributed MinIO object storage cluster on bare-metal.
Discover iDatam Dedicated Server Locations
iDatam servers are available around the world, providing diverse options for hosting websites. Each region offers unique advantages, making it easier to choose a location that best suits your specific hosting needs.
